Recording Physics Animation in Unity
The Gardens Between is a pretty game, but what grabbed my attention is a mechanic that simulates physics as you walk forward then reverses it when you backtrack, akin to scrubbing on a timeline.
Eye-catching, right? I wasted many minutes walking back and forth watching popcorn explode then recoil into its bowl. The game has some story about childhood friendship, but I remember the popcorn.
Let’s talk about how to achieve this effect in Unity.1 In lieu of kernels we’ll use a pile of crates. We could animate each crate individually, but I have neither the talent nor patience to make this look convincing. Instead we can put the physics engine to work with a component that blasts them to high heaven.
using UnityEngine;

class Explosion : MonoBehaviour
{
    public float force = 1_000f;
    public float radius = 10f;

    void Start()
    {
        var targets = FindObjectsByType<Rigidbody>(FindObjectsSortMode.None);

        foreach (var target in targets)
        {
            target.AddExplosionForce(force, transform.position, radius);
        }
    }
}
But how to reverse the simulation? This is where Recorder comes in. I’ve written about Recorder before — it’s a handy way to take screenshots and capture gameplay videos. Less obviously, it can also record physics simulations as animation to later play on demand.
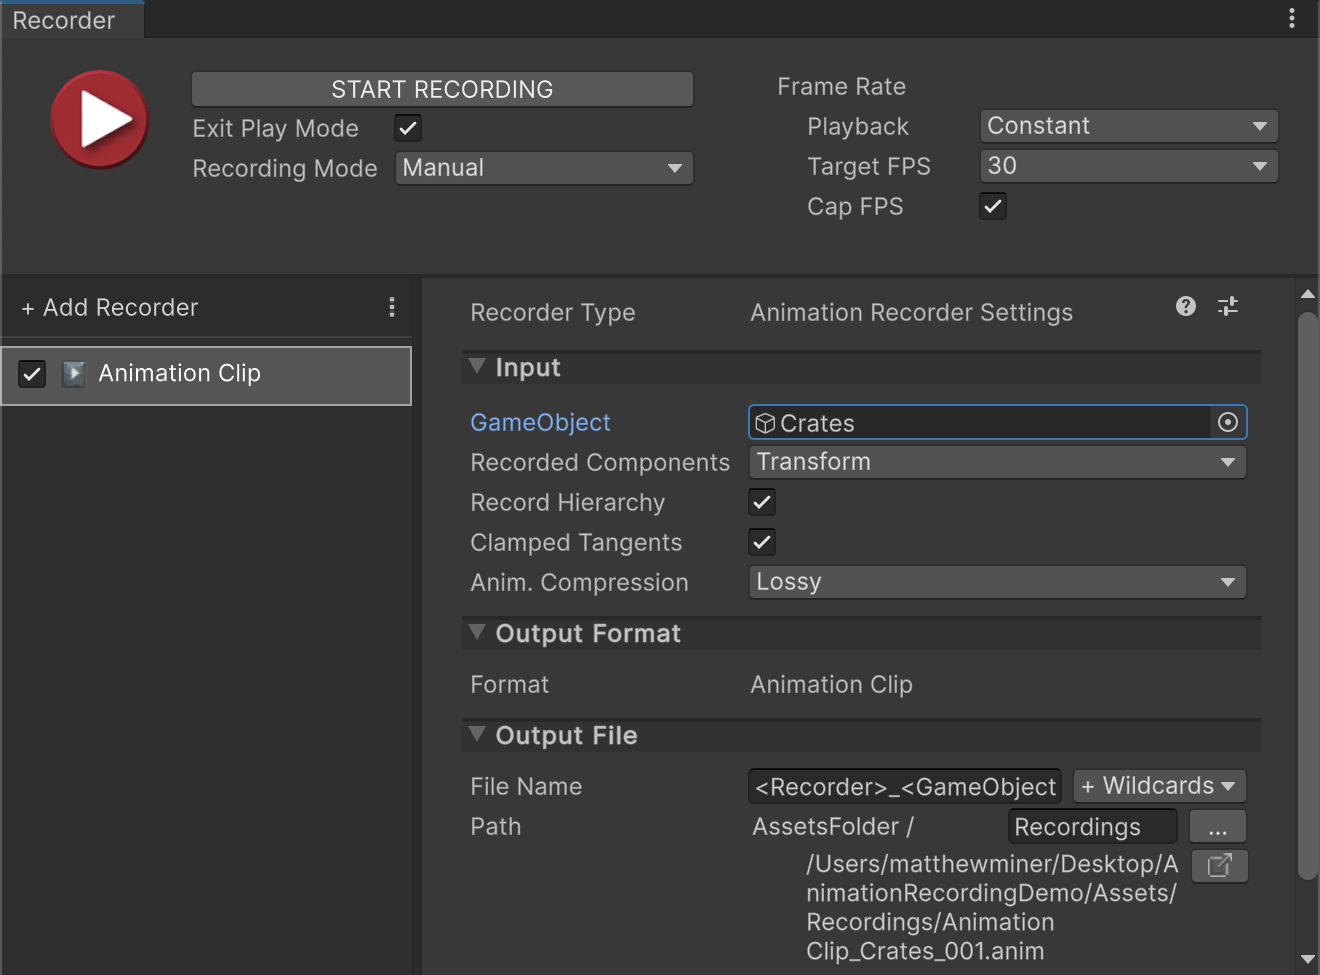
- In the Recorder window, click Add Recorder and choose “Animation Clip”.
- Drag the crates’ parent game object to the GameObject field.
- Set Recorded Components to “Transform”.
- Check Record Hierarchy.
- Click START RECORDING.
- Click STOP RECORDING when you’re satisfied with the result.
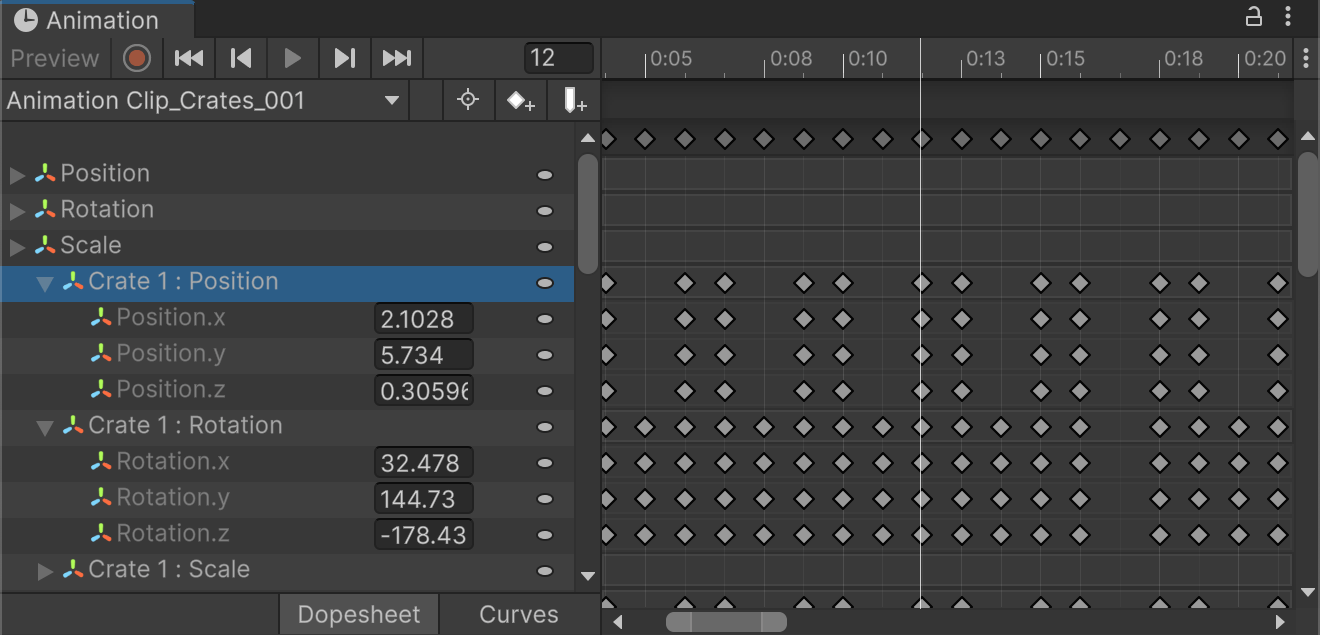
This saves a .anim file as a new asset. Crack this open to see a wall of keyframes — six per frame (position + rotation), for each crate. It’s a hefty file.2
At this point we can change our crate rigidbodies to kinematic and disable gravity. To see our animation in action we’ll use a timeline.
- Create a timeline from Assets > Create > Timeline > Timeline.
- Drag this new asset to the Hierarchy window.
- Drag the animation clip to the Timeline window.
- Drag the crates’ parent game object to the timeline track’s “None (Animator)” field.
- When prompted, choose “Create Animator on ExplosionTimeline”.
If we wired this up correctly, we can hit play to see our recorded explosion.
Finally, let’s uncheck Play On Awake on the Playable Director and create our own component to control playback.
using UnityEngine;
using UnityEngine.Playables;

class ExplosionPlayback : MonoBehaviour
{
    PlayableDirector director;

    void Start()
    {
        director = GetComponent<PlayableDirector>();
    }

    void Update()
    {
        if (Input.GetKey(KeyCode.LeftArrow))
        {
            director.time -= Time.deltaTime;
        }

        if (Input.GetKey(KeyCode.RightArrow))
        {
            director.time += Time.deltaTime;
        }

        director.Evaluate();
    }
}
Attach this to the game object containing the Playable Director, hit play, and scrub back and forth using the left and right arrow keys.
Now that’s satisfying.